
A vibrant collection of assorted iron-on patches displayed on a textured fabric background, showcasing various designs such as floral motifs, geometric shapes, and whimsical characters, with visible stitching details and colorful threads, emphasizing the craftsmanship and texture of the patches against the soft fabric surface.
Iron-on patches make fabric decoration easy. They let you add fun designs to clothes and accessories.
Applying iron-on patches is simple. You only need a few tools and some patience.
These patches come in many fabulous designs. They can update jackets, backpacks, and jeans fast.
This guide will show you how to apply iron-on patches. You’ll learn to avoid mistakes and place patches ideally.
Understanding Iron-On Patches
Iron-on patches are fun accessories that can change clothes easily. They stick with heat and come in many types.
You can use them to make your stuff look cool fast. The glue on the back makes them easy to put on.
There are three main kinds of iron-on patches. Embroidered ones have raised designs.
Printed patches have bright colors. Fabric patches blend in well with clothes.
People who make things love using these patches. They can fix holes or add cool designs.
You can put them on many things. Jeans, backpacks, and sports clothes work well.
When you pick patches, look for ones that stick well. Think about what you’ll use them for.
Preparing Your Fabric for Patching
Fabric choice is key for a successful patch application. Cotton, denim, and canvas work best due to their sturdy weave.
Clean the fabric area where you’ll apply the patch. Remove any dirt, oils, or residue that could affect adhesion.
Use a lint roller or gentle brush for a smooth surface. Wash the garment if needed and let it dry thoroughly.
Check the fabric’s texture carefully. Smooth, flat surfaces work best for patch application.
Iron the fabric first to create a flat ironing surface. Use a thin cloth between the patch and the iron.
Some fabrics may need extra prep. Knitted or stretchy materials might need backing.
Always test a small area first. This ensures the fabric can handle the heat and pressure.
Tools and Supplies You’ll Need
You need the right tools for a successful patch application. A standard home iron with adjustable settings works best for most projects.
Ceramic-plate irons provide even heat distribution. They’re ideal for applying patches to delicate fabrics.
Your toolkit should include several key items. A sturdy ironing board creates a stable surface for precise work.
Protective pressing cloths shield patches and fabric from heat damage. Cotton muslin works great as a protective layer.
Consider a craft iron or mini heat press for better temperature control. These tools are excellent for multiple patch applications or tricky fabrics.
Essential supplies include: – Sharp fabric scissors – Clean, flat work surface – Thick towel or ironing pad – Measuring tape – Parchment paper (as an alternative pressing cloth)
Fabric weight and patch material affect your tool choice. Thicker patches or heavy fabrics might need more substantial heat press options.
Step-by-Step Guide to Ironing on Patches
Patch application needs careful placement and heat. Start with a clean, flat surface like an ironing board.
Make sure your fabric is smooth before you begin. Set your iron to 300-350 degrees Fahrenheit.
Put a thin cloth between the patch and the iron. This protects the design and fabric.
Place the patch where you want it. Press the iron on top for 30-45 seconds.
Apply firm pressure across the whole patch. Flip the garment inside out and iron it again.
Let the garment cool before wearing or washing. This helps the patch stick better.
Pro tip: Use a silicone sheet for even heat. This can prevent fabric damage during the process.
Common Mistakes to Avoid
Ironing errors can make patch projects challenging. Learning about these mistakes helps you do it right every time.
Heat is key when using iron-on patches. Too much heat can hurt fabric or melt patches.
Always check the fabric label. Use the correct heat setting for the fabric type.
For thin fabrics, use less heat. Put a thin cloth between the iron and the patch.
Don’t press too fast or for too short a time. Hold the iron still for 30-45 seconds.
Use firm, even pressure. Don’t slide the iron around.
Clean the fabric before adding the patch. Dirt can stop the patch from sticking well.
Iron on a flat, heat-safe surface. This helps the patch go on smoothly.
Let the patched item cool fully. Don’t wear or move it right away.
Follow these tips for great-looking patches every time. You’ll avoid mistakes and get perfect results.
Troubleshooting Iron-On Patch Issues
Patch adhesion problems can be a pain for DIY crafters. Don’t worry if your iron-on patch bubbles or doesn’t stick well.
Fixing patches needs the proper heat and pressure. Use a clean cloth to protect and reheat bubbling patches.
Press firmly with a hot iron for 30-45 seconds. Apply even pressure across the whole patch surface.
Check your fabric type before applying patches. Some materials, like silk, can be tricky.
Use a pressing cloth and set the right iron to heat. Thick fabrics might need extra prep for patches to stick.
Try these quick fixes for stubborn patches: – Clean the fabric first – Use good iron-on patches – Set the iron to the proper heat – Press evenly while ironing.
If patches still lift, try fabric glue. This can give extra hold and stop future problems.
Caring for Clothes with Patches
Proper patch care keeps your custom clothing looking great. Wash patched clothes carefully to keep both fabric and patch strong.
Turn garments inside out before washing. This protects patches from direct friction.
Use gentle cycle settings with cold water for patched items. Choose mild detergents and skip bleach or fabric softeners.
Drying methods are key for patch durability. Air drying is best for patched clothes.
Dryers can melt adhesive or cause patches to peel. If using a dryer, pick the lowest heat setting.
Check patches often for lifting or wear. A quick press with a warm iron helps keep patches secure.
Hang or fold patched clothes smoothly when storing. This prevents stress on the patches.
With good care, your iron-on patches will stay fresh. They’ll keep showing off your unique style for years.
Alternative Methods for Applying Patches
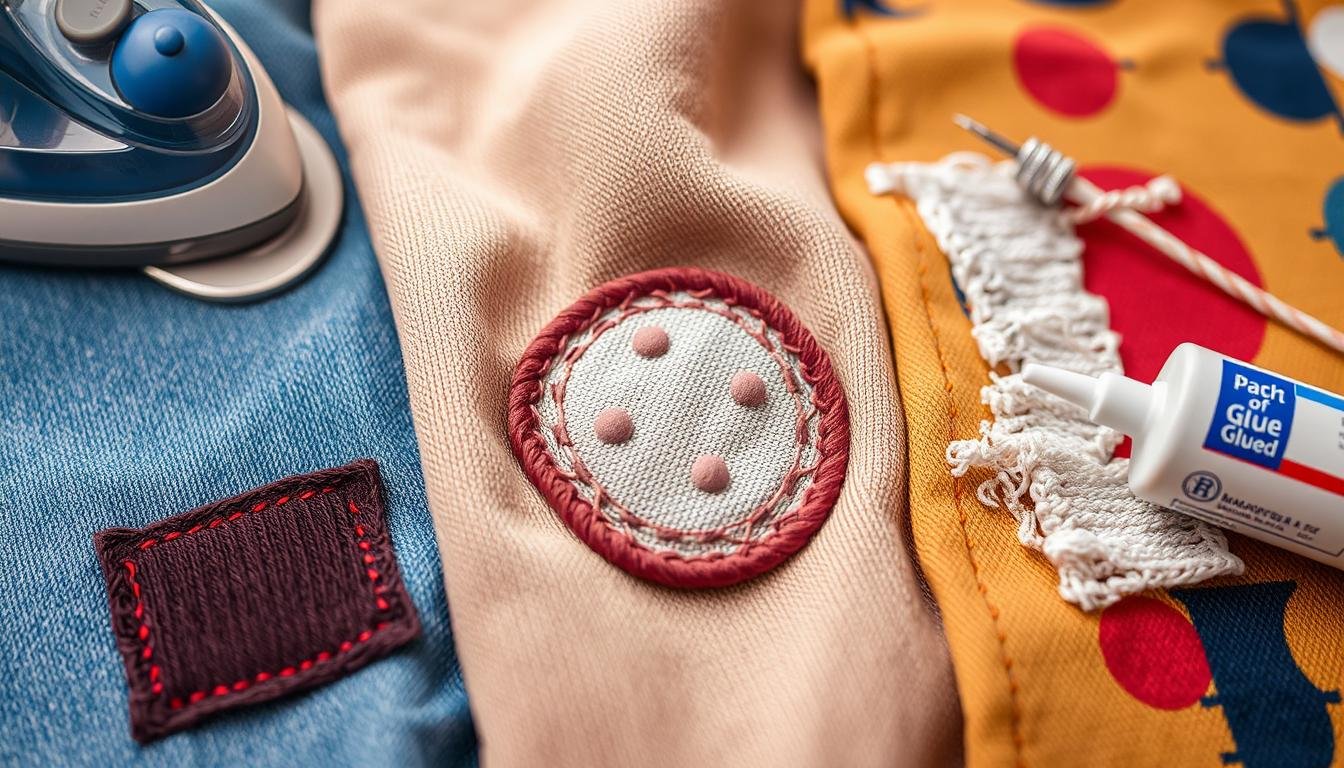
A close-up view of various patch application techniques on fabric, showcasing an iron-on patch being applied with a hot iron, a sewing needle and thread method, and fabric glue being spread, all displayed on colorful textiles with different textures and patterns, emphasizing the tools and materials used in each technique.
Crafters have many ways to attach patches to the fabric. Sewing patches is a classic and durable method.
Fabric adhesives offer a quick, no-iron patch application. These glues work best on lightweight materials like cotton.
Hand-stitching patches provide extra strength compared to iron-on methods. This technique creates a secure bond that withstands washing.
No-iron patch applications include fabric adhesive sheets. These work great for delicate fabrics that might get damaged.
Crafters can choose between spray adhesives and liquid fabric glues. Consider the fabric type and patch material when selecting a method.
Customizing Your Iron-On Patches
Custom patches can turn plain clothes into unique fashion pieces. DIY patch designs let you express yourself in countless ways.
Add patches to jackets, backpacks, or t-shirts. Try new patch placements to show off your style.
Pick patches that match your personality. Look for designs that show your interests.
Mix different sizes and styles for a layered look. Find unique patches at vintage stores or on Etsy.
Put patches in surprising spots. Try sleeve cuffs or pocket edges.
Create diagonal patterns on jacket backs. Mix textures and colors for visual appeal.
Use fabric paint to make your patches stand out. Small embroidery details can also enhance your designs.
Patch customization is an art form. Mix and match to tell your story.
With care and creativity, iron-on patches can transform simple clothes. They’ll showcase your unique style in stunning ways.
FAQ
What types of fabrics work best for iron-on patches?
Cotton, denim, polyester, and canvas are ideal for iron-on patches. Avoid delicate fabrics like silk or thin synthetics.
Always check the fabric’s heat tolerance before applying patches. This ensures the best results.
How long do iron-on patches typically last?
Iron-on patches can last 25-50 wash cycles with proper care. Wash clothes inside out and use cold water.
Avoid high-heat drying. Some high-quality patches may last longer with gentle treatment.
Can I remove an iron-on patch after it’s been applied?
Removing an iron-on patch is challenging and may damage the fabric. Use a seam ripper to cut around the patch’s edges.
Then, use fabric adhesive remover. This method often leaves residue or fabric damage.
Do I need a special iron to apply patches?
A standard household iron works for most iron-on patches. Ensure it has a flat surface and reaches 250-300 degrees Fahrenheit.
Some crafters prefer a heat press for more consistent results.
Can I wash clothes with iron-on patches immediately after application?
Wait 24-48 hours after applying a patch before washing. This allows the adhesive to fully bond with the fabric.
Use cold water and turn the garment inside out to protect the patch.
Are iron-on patches waterproof?
Most iron-on patches are water-resistant but not completely waterproof. They can withstand regular washing.
Prolonged exposure to water might weaken the adhesive over time. Follow the specific care instructions for your patch.
Can I iron on patches to shoes or bags?
Some shoes and bags can handle iron-on patches, depending on the material. Leather, thick canvas, and some synthetic materials work well.
Always test a small area first. Use a protective cloth between the iron and the surface.
What should I do if my patch doesn’t stick completely?
Try reapplying the patch with a hot iron and firm pressure. Use a thin cloth between the iron and the patch.
If it still won’t stick, you might need fabric glue or sewing.
You may also read:How to Thicken Chili: Quick & Easy Methods
